Adjusting Kubernetes resource limits can quickly get tricky, especially when you start scaling your environments. The level of waste is higher than you’d expect: one in every two K8s containers uses less than a third of its requested CPU and memory.

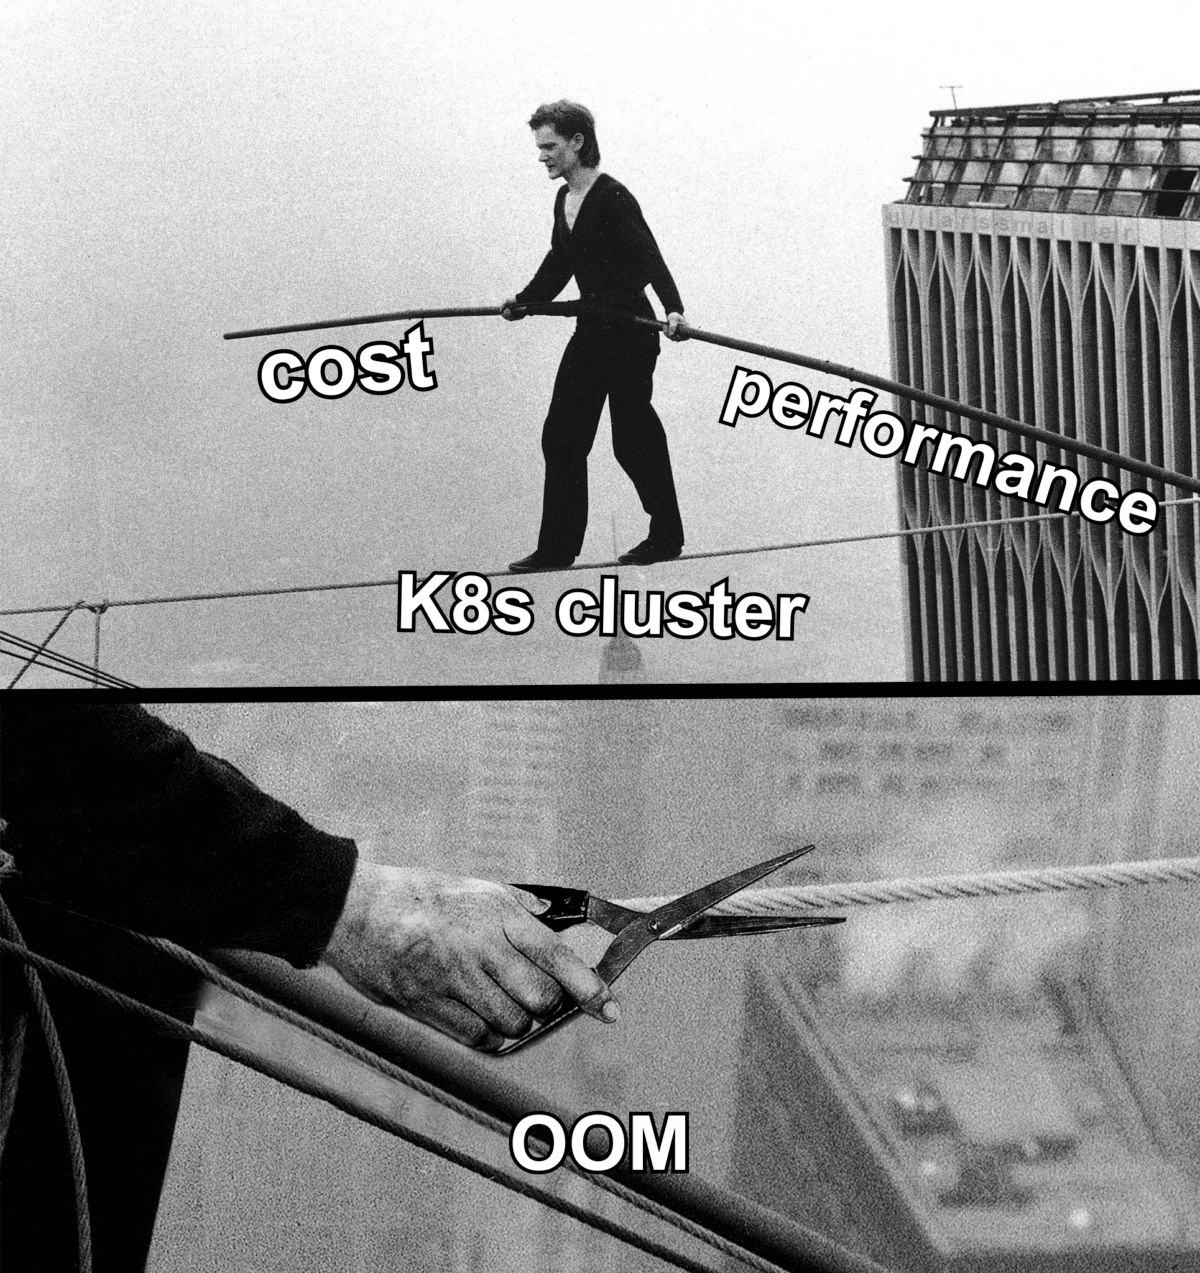
Optimizing resource limits is like walking on a tightrope.
If you overprovision CPU and memory, you’ll keep the lights on but will inevitably overspend. If you underprovision these resources, you risk CPU throttling and out-of-memory kills.

When development and engineering teams don’t fully understand what their container resource requests in real life, they often play it safe and provision a lot more CPU and memory than needed. But it doesn’t have to be this way.
In this article, we share some tips on how to make limits and requests work and keep your cloud costs in check.
How resources are allocated in Kubernetes environments
In Kubernetes, containers request resources following their pod specifications.
The Kubernetes scheduler considers these requests when choosing where to add pods in the cluster. For example, it won’t schedule a pod on a node that doesn’t have enough memory to meet the requests of its containers. It’s like packing items of various sizes into different-sized boxes.
In what follows, we focus on CPU and memory but don’t forget that containers can also request other resources like GPU or ephemeral storage. Such resource requests may impact how other pods get scheduled on a node in the future.
How to manage Kubernetes resource limits and requests for cost efficiency
1. Use the right metrics to identify inefficiencies
When planning capacity for K8s workloads, use metrics like CPU and RAM usage to identify inefficiencies and understand how much capacity your workloads really need.
Kubernetes components provide metrics in the Prometheus format. Naturally, Prometheus is a very popular open-source solution for Kubernetes monitoring.
Here are a few examples of metrics that come in handy:
- For CPU utilization, use the metric container_cpu_usage_seconds_total.
- A good metric for memory usage is container_memory_working_set_bytes since this is what the OOM killer is watching for.
- Add kube_pod_container_resource_limits_memory_bytes to the dashboard together with used memory to instantly see when usage approaches limits.
- Use container_cpu_cfs_throttled_seconds_total to monitor if any workloads are being throttled by a CPU limit that is too low.
2. Choose the right scaling approach
When scaling your applications, you can go for one of these approaches: more small pods vs. fewer larger ones.
There should be at least two replicas of the application to ensure higher availability. More than a couple is better for reducing the impact of replica failure. This is especially important if you use or plan to use spot instances – you get higher availability and greater failure resistance.
With more replicas, you also get more granular horizontal scaling – adding or removing a replica has a smaller impact on total resource usage.
Don’t go to the other extreme either. Too many small pods take resources from K8s. Also, there are limits for the number of pods per node or IP addresses in a subnet.
3. Set the right Kubernetes resource limits and requests
In K8s, workloads are rightsized via requests and limits set for CPU and memory resources. This is how you avoid issues like overprovisioning, pod eviction, CPU starvation, or running out of memory.
Kubernetes has two types of resource configurations:
- Requests specify how much of each resource a container needs. The Scheduler uses this info to choose a Node. Pod will be guaranteed to have at least this amount of resources.
- Limits, when specified, are used by kubelet and enforced by throttling or terminating the process in a container.
If you set these values too high, prepare for overprovisioning and waste. But setting them too low is also dangerous, as it may lead to poor performance and crashes.
When setting up a new application, start by setting resources higher. Then monitor usage and adjust.
Note: You specify both CPU and memory by setting resource requests and limits, but their enforcement is different.
When CPU usage goes over its limit, the CPU gets throttled, which, as a result, may slow down the container’s performance.
Things get serious when memory usage goes over its limit. The container can get OOM-killed.
If you have a workload with short CPU spikes and performance isn’t critical for you, it’s fine to set its limit a bit lower than what you see during those spikes. What about the memory limit, then? It’s best to set it to accommodate all the spikes if you don’t want your workload to get killed, leaving unfinished operations and user requests.
It’s also strongly recommended to set memory limits equal to requests. Otherwise, you risk OOM killing your container or even a failing node. A memory limit higher than the request can expose the whole node to OOM issues or other problems that are very difficult to track down.
When it comes to CPU resources, follow the same rule to be on the safe side. For a new workload, start with more generous resource settings, monitor your metrics, and then adjust the resource requests and limits to make it cost-efficient.
💡 Setting resource limits and requests manually isn’t your only option
CAST AI features Workload Autoscaler, which automatically scales your workload requests up or down to ensure optimal performance and cost-effectiveness. Learn more about this feature in the documentation.
4. Don’t forget about security
Setting container limits is actually part of the official Kubernetes security checklist.
It’s recommended to set memory and CPU limits to restrict the resources a pod may consume on a node, and prevent potential DoS attacks from malicious or breached workloads. You can enforce this policy using an admission controller.
One thing to remember here is:
CPU limits will throttle usage, which can have an unintended impact on autoscaling features or efficiency – for example, running the process with the best effort with the CPU resources available.
5. Consider Quality of Service (QoS) classes
In Kubernetes, each pod is assigned a Quality of Service (QoS) class depending on how you specify CPU and memory resources.
QoS class is important because it affects the decisions about which pods get evicted from nodes when there aren’t enough resources to cover all pods.
There are three QoS classes in Kubernetes: Guaranteed, Burstable, and BestEffort.
If all containers in a pod have set their CPU and memory limits equal to requests, they get the Guaranteed QoS class. This is the safest category.
Pods that have at least some requests or limits specified will be assigned the Burstable class.
Pods without any resource specifications get the BestEffort class.
When the node experiences resource pressure, pods of the BestEffort class will be evicted first, followed by pods of the Burstable class.
6. Use autoscaling
To automate workload rightsizing, use autoscaling. Kubernetes has two mechanisms in place:
- Horizontal Pod Autoscaler (HPA)
- Vertical Pod Autoscaler (VPA)
The tighter your Kubernetes scaling mechanisms are configured, the lower the waste and costs of running your application. A common practice is to scale down during off-peak hours.
Make sure that HPA and VPA policies don’t clash. While VPA automatically adjusts your resource requests and limits configuration, HPA adjusts the number of replicas. These policies shouldn’t be interfering with each other.
Get more about K8s autoscaling best practices here.
7. Keep your rightsizing efforts in check
Perform remedial steps and assess previous resource use on a regular basis. Tracking capacity utilization over time helps reduce uncontrolled resource use.
8. Get started where it matters most
Aim for maximum impact right from the start. Rightsizing requires effort, so don’t go down the rabbit hole of tinkering with some cheap workload. Start with large and low-hanging fruits – expensive workloads with considerable overprovisioned resources.
CPU is often a more expensive resource, so CPU savings can be more impressive. Also, playing around and lowering your CPU limits is safer than doing the same with memory.
Discover inefficiencies in your workloads using this free report
You can get ahead of the game and use the free cost monitoring module to identify the most expensive workloads, check your workload efficiency, and find out what you can do using the recommended rightsizing settings.
The solution also keeps track of the whole cost history of your cluster. This gives you a solid base for making further improvements to the efficiency of your workload.
// get started
Optimize your cluster for free
Try powerful Kubernetes automation features combined with full cost visibility via cluster-specific savings reports and cost monitoring.
No card required
Unlimited clusters
Instant savings insights


Leave a reply