Kubernetes is a highly extensible platform, allowing users to tailor its behavior to their specific needs. One such feature is the use of a custom kube-scheduler. In this blog post, I will discuss why you may need it one day and walk you through the process of setting up and configuring it.

But before we dive into this topic, let’s consider one important issue.
Kubernetes scheduler sometimes isn’t enough
The default Kubernetes scheduler, known as kube-scheduler, makes decisions on where to run Pods based on various criteria. These include resource requirements, hardware constraints, node selector and node affinity rules, Pod affinity and anti-affinity, and more.
The scheduler optimizes workload distribution by making informed decisions based on these factors, preventing overloading nodes and enhancing cluster performance and fault tolerance. This ability enables Kubernetes to efficiently manage and scale applications while maintaining high availability and resource efficiency.
However, there might be scenarios where the default scheduler’s behavior doesn’t align with specific use cases. This is where a custom kube-scheduler comes into play, allowing users to define their own logic.
How to create a custom kube-scheduler
In this blog post, I will concentrate on the MostAllocated strategy in the kube-scheduler. It’s a strategy that assigns Pods to the node with the highest resource allocation that it will fit on.
You can seamlessly integrate a custom kube-scheduler into managed Kubernetes services offered by major cloud providers – AWS’s EKS, Google Cloud’s GKE, and Azure’s AKS.
While each platform has its specific configurations, the core concept of deploying and using a custom kube-scheduler remains consistent across these services.
Note: This post was tested on Kubernetes version 1.25.
Step 1: Create a config file
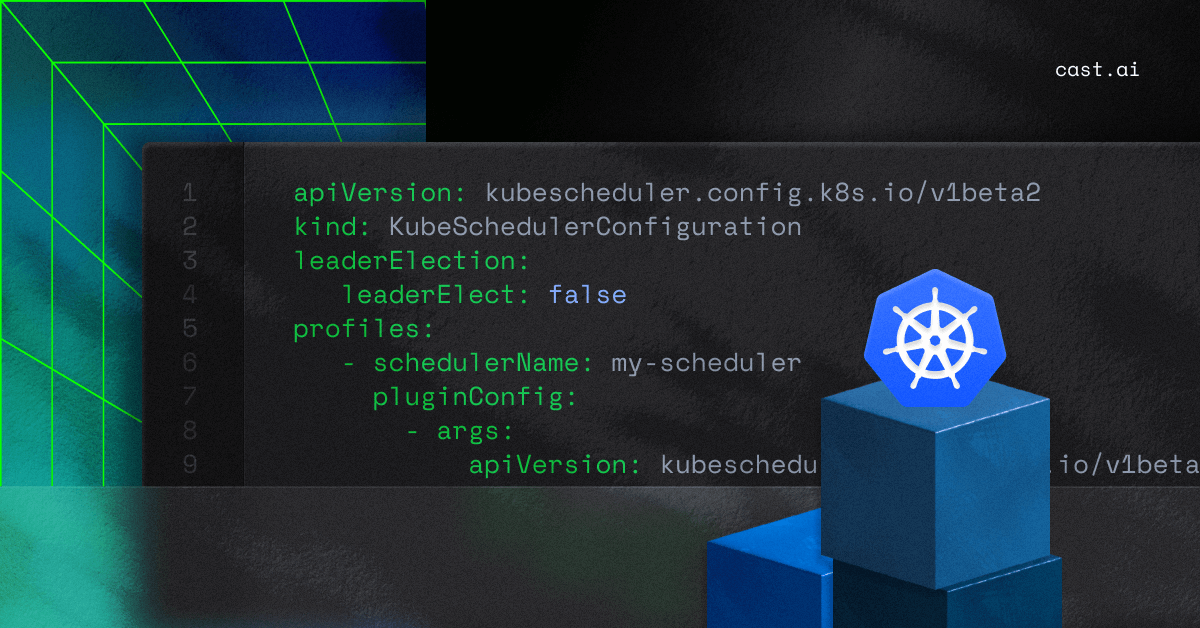
The first step is to create a configuration file for our custom kube-scheduler. This file will define how the scheduler behaves. Here’s a basic example:
apiVersion: kubescheduler.config.k8s.io/v1beta2
kind: KubeSchedulerConfiguration
leaderElection:
   leaderElect: false
profiles:
   - schedulerName: my-scheduler
     pluginConfig:
       - args:
           apiVersion: kubescheduler.config.k8s.io/v1beta2
           kind: NodeResourcesFitArgs
           scoringStrategy:
               resources:
                   - name: cpu
                     weight: 1
                   - name: memory
                     weight: 1
               type: MostAllocated
         name: NodeResourcesFit
     plugins:
       score:
           enabled:
               - name: NodeResourcesFit
                 weight: 1
In this configuration, we define a scheduler profile named my-scheduler that will allocate based on the MostAllocated scoring strategy.
Step 2: Deploy your custom kube-scheduler
Once the configuration is ready, you can deploy your custom Kubernetes scheduler. It will run as a Pod in the cluster, typically within the kube-system namespace.
Step 2.1: Create a ConfigMap for the configuration
First, you need to create a ConfigMap to store our custom scheduler configuration:
kubectl create configmap my-scheduler-config -n kube-system --from-file=scheduler-config.yaml
Step 2.2: Create the ServiceAccount for the custom kube-scheduler
Before you can deploy your custom scheduler, you need to give it permissions to do its work.
The permissions needed to create a ServiceAccount, ClusterRole and ClusterRoleBinding to allow the scheduler to do its job are:
apiVersion: v1
kind: ServiceAccount
metadata:
 name: my-scheduler
 namespace: kube-system

---
apiVersion: rbac.authorization.k8s.io/v1
kind: ClusterRole
metadata:
 name: my-scheduler
rules:
- apiGroups:
 - ""
 resources:
 - pods
 - pods/status
 - pods/binding
 verbs:
 - get
 - list
 - watch
 - create
 - update
 - patch
 - delete
- apiGroups:
 - ""
 resources:
 - nodes
 verbs:
 - get
 - list
 - watch
- apiGroups:
 - storage.k8s.io
 resources:
 - storageclasses
 - csinodes
 - csidrivers
 - csistoragecapacities
 verbs:
 - watch
 - list
 - get
- apiGroups:
 - apps
 resources:
 - replicasets
 - statefulsets
 verbs:
 - watch
 - list
 - get
- apiGroups:
 - ""
 resources:
 - persistentvolumeclaims
 - services
 - namespaces
 - configmaps
 - replicationcontrollers
 - persistentvolumes
 - poddisruptionbudgets
 - replicasets
 - statefulsets
 verbs:
 - watch
 - list
 - get
- apiGroups:
 - policy
 resources:
 - poddisruptionbudgets
 verbs:
 - watch
 - list
 - get
---
apiVersion: rbac.authorization.k8s.io/v1
kind: ClusterRoleBinding
metadata:
 name: my-scheduler
roleRef:
 apiGroup: rbac.authorization.k8s.io
 kind: ClusterRole
 name: my-scheduler
subjects:
- kind: ServiceAccount
 name: my-scheduler
 namespace: kube-system
You can apply this rolemap with the following command and get the permissions ready for the kube-scheduler to be able to schedule Pods:
kubectl apply -f scheduler-sa.yamlStep 2.3: Create the custom scheduler deployment
The final step is installing the deployment script that will create a kube-scheduler called “my-scheduler” that has 1 replica running.
The resource requests are set to 200m CPU and memory of 128 Mi. This was plenty for a small testing environment, but both replicas and resource requests may need adjustment at scale.
apiVersion: apps/v1
kind: Deployment
metadata:
 name: my-scheduler
 namespace: kube-system
spec:
 replicas: 1
 selector:
   matchLabels:
     name: my-scheduler
 template:
   metadata:
     labels:
       component: scheduler
       name: my-scheduler
       tier: control-plane
   spec:
     containers:
     - command:
       - /usr/local/bin/kube-scheduler
       - --leader-elect=false
       - --config=/etc/kubernetes/scheduler-config.yaml
       - -v=5
       env: []
       image: registry.k8s.io/kube-scheduler:v1.25.12
       imagePullPolicy: IfNotPresent
       resources:
         requests:
           cpu: 200m
           memory: 128Mi
         limits:
           memory: 128Mi
       livenessProbe:
         httpGet:
           path: /healthz
           port: 10259
           scheme: HTTPS
       name: my-scheduler
       readinessProbe:
         httpGet:
           path: /healthz
           port: 10259
           scheme: HTTPS
       volumeMounts:
       - mountPath: /etc/kubernetes/scheduler-config.yaml
         name: my-scheduler-config
         subPath: scheduler-config.yaml
     serviceAccountName: my-scheduler
     volumes:
     - configMap:
         name: my-scheduler-config
       name: my-scheduler-config
Apply this deployment with:
kubectl apply -f custom-scheduler-deployment.yamlStep 3: Schedule Pods with the custom kube-scheduler
Now that you have a new scheduler created and deployed, the next step is to tell your workloads how to use it.
In the example, where the schedulerName is “my-scheduler”, you will want to set the scheduler to “my-scheduler” like below:
apiVersion: apps/v1
kind: Deployment
metadata:
  name: my-app
spec:
  replicas: 3
  template:
    spec:
      schedulerName: my-scheduler
      containers:
      - name: my-app
        image: my-app-image
Custom kube-scheduler: common troubleshooting
Setting up a custom scheduler can sometimes lead to Pods being stuck in a “Pending” state.
Some common troubleshooting steps include:
- Checking scheduler logs to ensure there are no errors in the custom scheduler’s logs.
- Verifying Pod’s schedulerName to check if the Pod is set to use the custom kube-scheduler.
- Resource constraints to make sure the cluster has enough resources to satisfy the Pod’s requirements.
- Node Affinity/Anti-Affinity to ensure that no rules prevent the Pod from being scheduled.
- Checking taints and tolerations to avoid that nodes don’t have taints that the Pod doesn’t tolerate. For more information on using taints and tolerations, please check this post.
Conclusion
While the default Kubernetes scheduler is suitable for many use cases, a custom scheduler can be invaluable when you require specific scheduling behavior.
Setting up a custom kube-scheduler provides flexibility in determining how Kubernetes schedules Pods in your cluster.
By following the steps outlined above, you can configure and deploy your custom kube-scheduler seamlessly.
Custom kube-scheduler – FAQ
Kube-scheduler is a critical component of Kubernetes. It ensures that each Pod gets a suitable node to run on. It analyzes all available nodes and places the Pod on the best one. It automates its decision process to deliver fast results.
Kube-Scheduler uses a two-step process: filtering and scoring.
During filtering, it identifies nodes that meet the pod’s requirements (like resource availability, taints, and tolerations).
During scoring, it ranks the suitable nodes based on various criteria, such as resource availability, node affinity, and more. The node with the highest score is selected for the Pod.
Yes, Kubernetes lets you define custom scheduling policies or even implement their custom schedulers. This feature is helpful in scenarios where the default scheduling behavior doesn’t meet specific application needs.
A custom kube-scheduler is a specialized scheduler in Kubernetes you can create to apply unique scheduling policies and logic to allocate workloads based on specific requirements and constraints.
You might want a custom kube-scheduler when needing tailored workload placement, like adhering to data locality regulations, optimizing for specific hardware characteristics, or enforcing complex inter-workload affinity/anti-affinity rules.
It’s valuable for industries like finance, healthcare or research, and all scenarios demanding fine-grained control beyond the default scheduler’s capabilities.
If the Kubernetes scheduler cannot find a suitable node for a Pod, the Pod remains in the “Pending” state. The scheduler will continue to evaluate the Pod for placement as the cluster state changes, for example, when resources become available, or other Pods terminate.
// get started
Optimize your cluster for free
Try powerful Kubernetes automation features combined with full cost visibility via cluster-specific savings reports and cost monitoring.
No card required
Unlimited clusters
Instant savings insights


Leave a reply